Hardwood
Laminate
Tiles
Carpets
Vinyl Planks
Cork
Gallery
Project Photos
Before & After
Contact
Before and After Comparisons
Photo Gallery
back
|
6
to
10
of
13
1
2
3
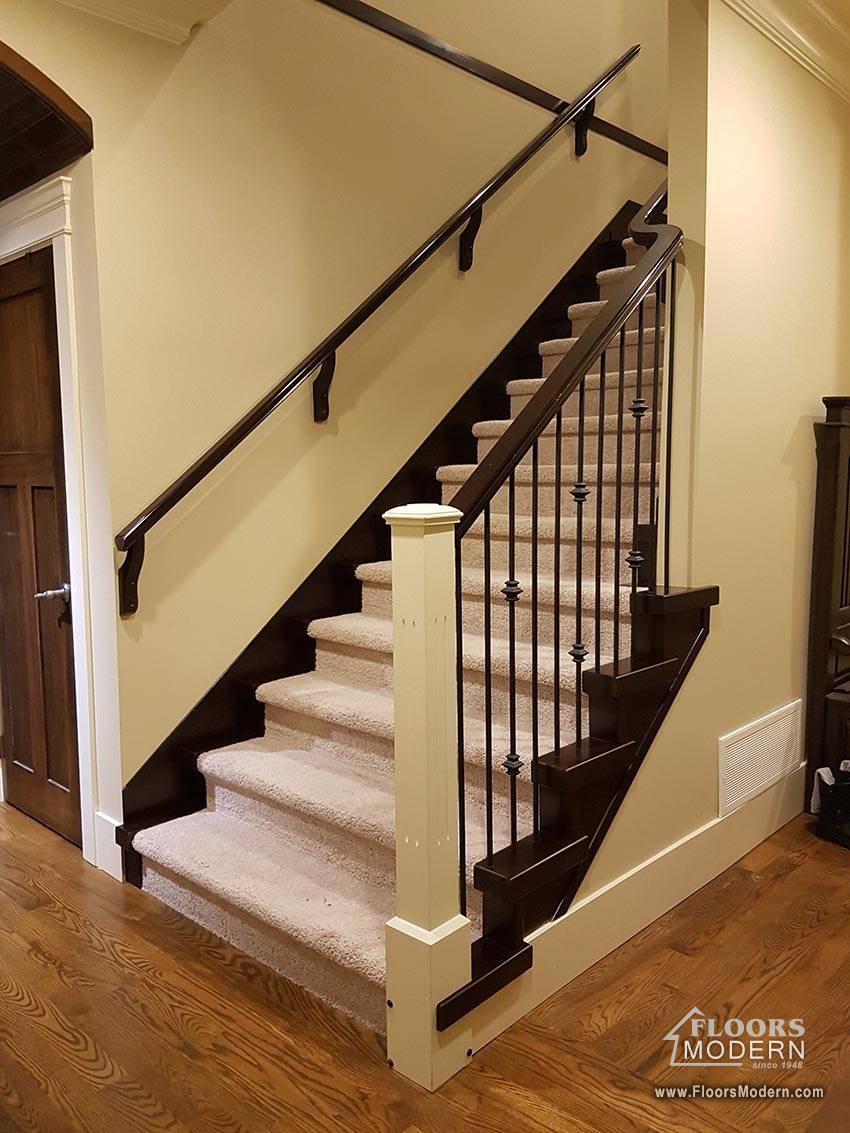
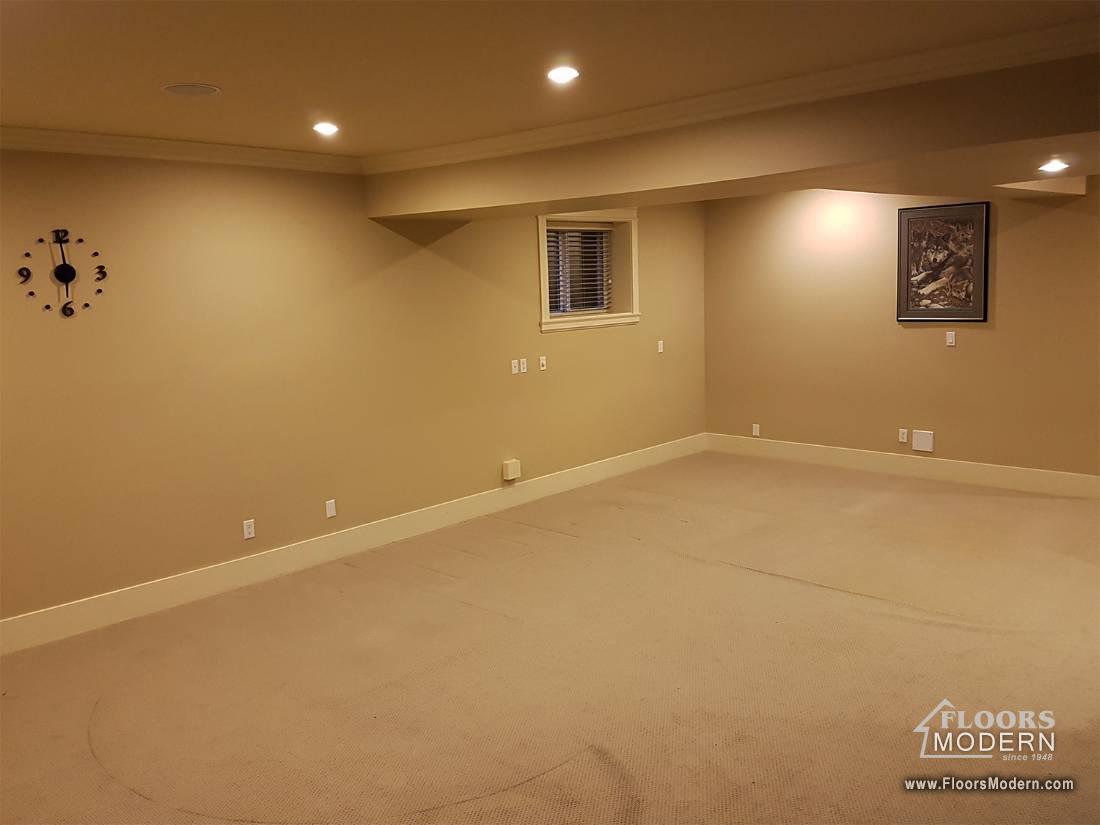
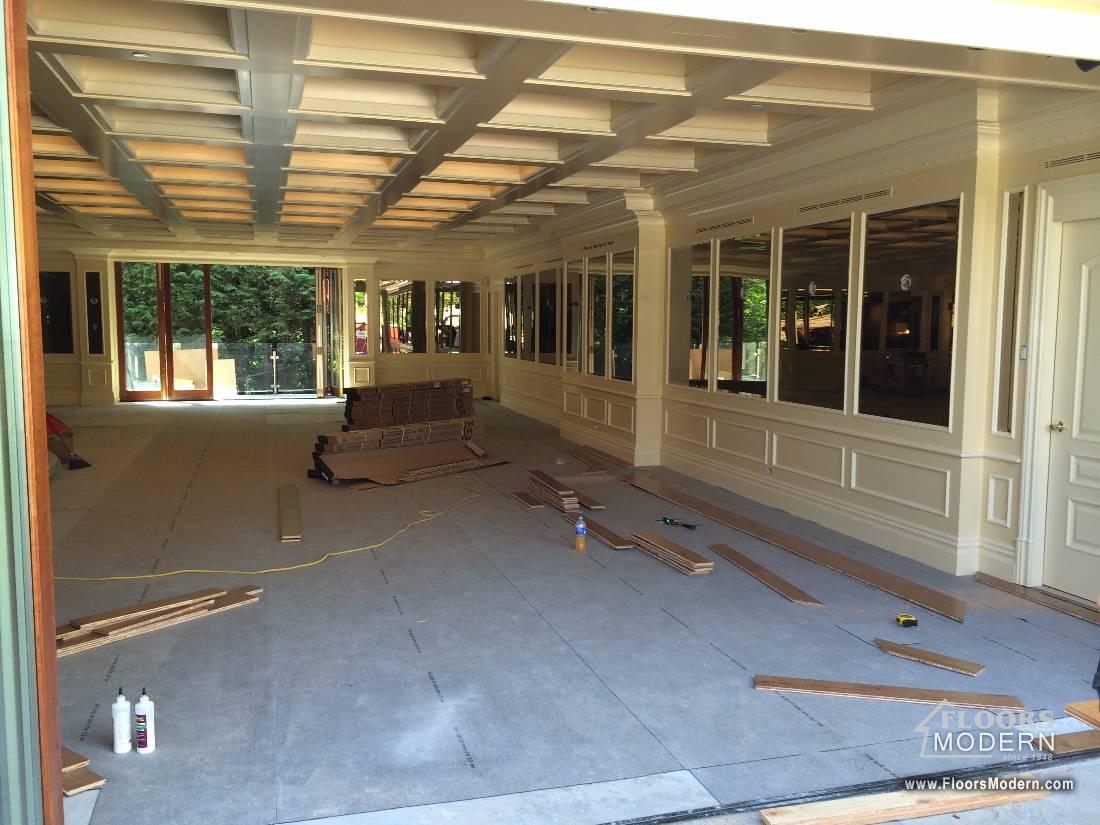
BEFORE
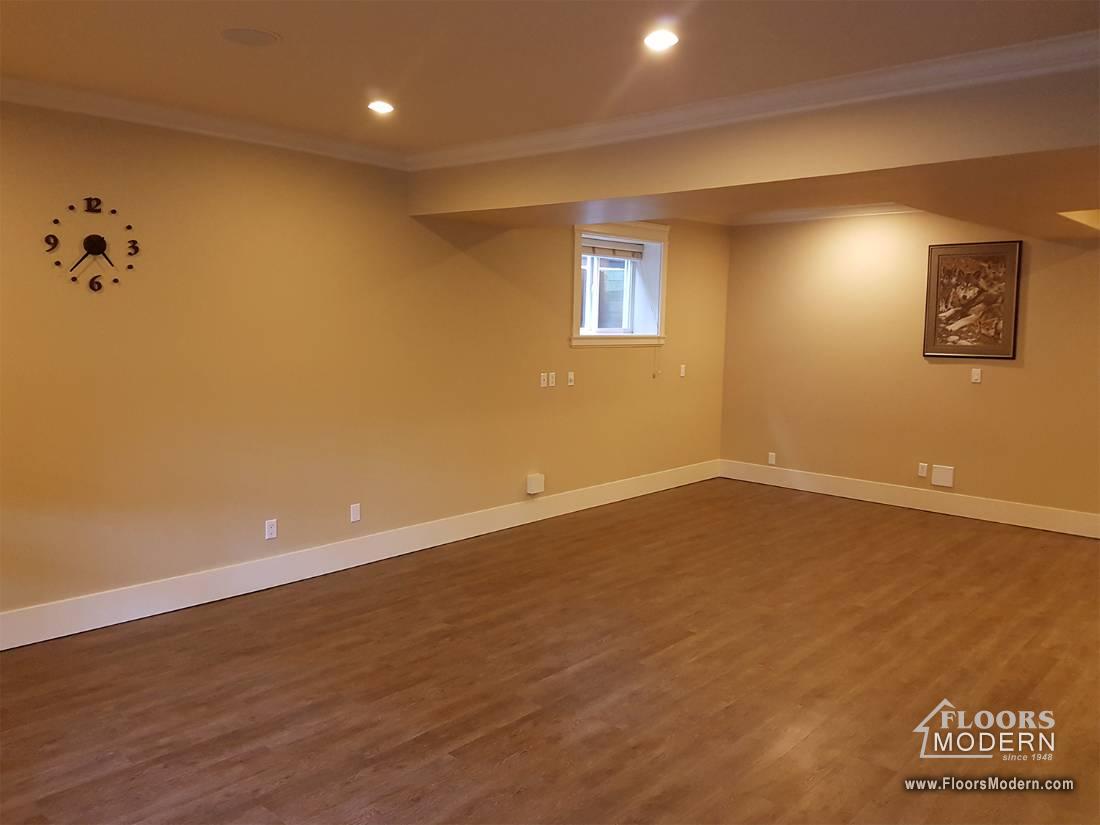
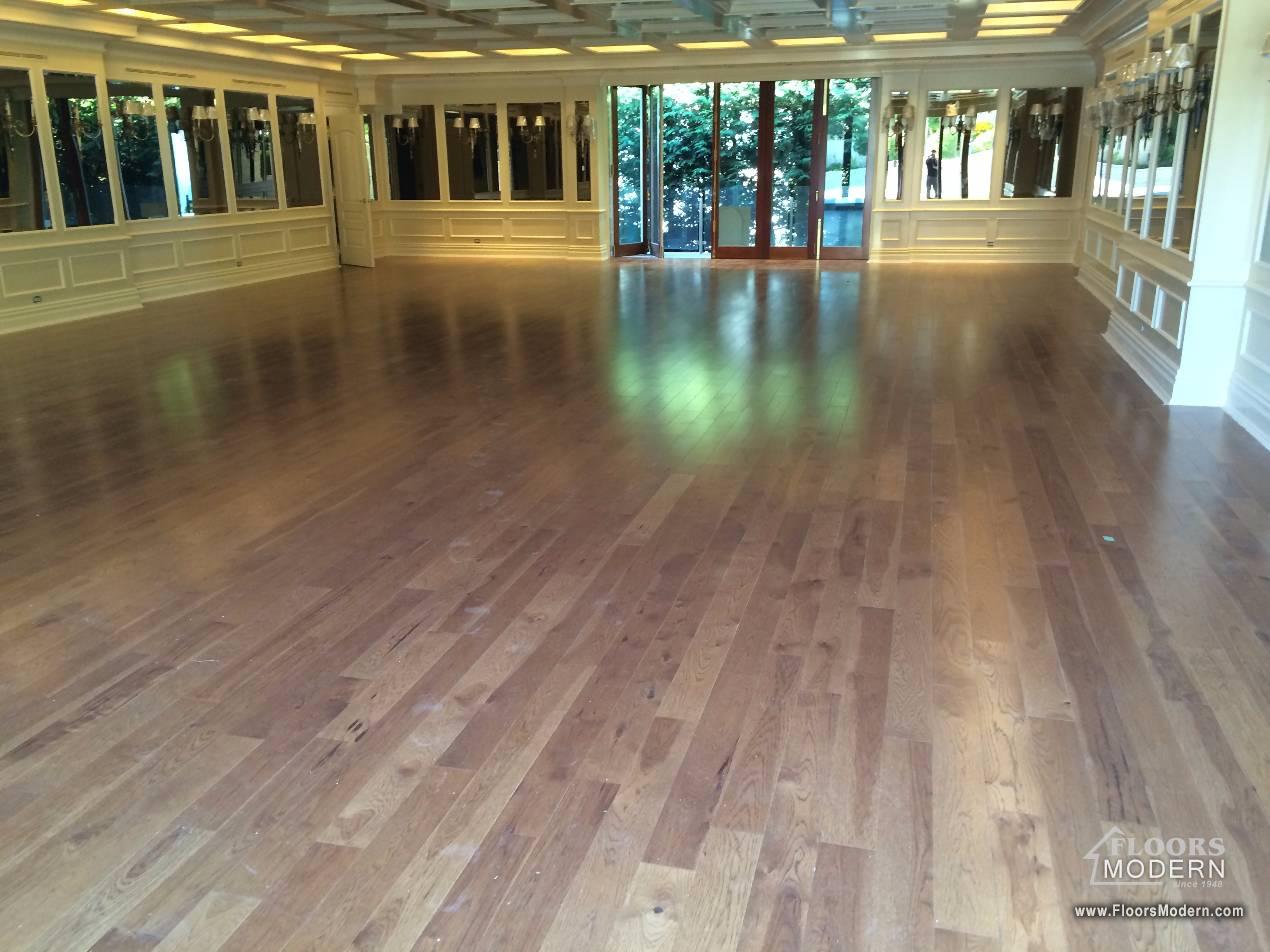
AFTER
Flooring Installations and Floor Renovations
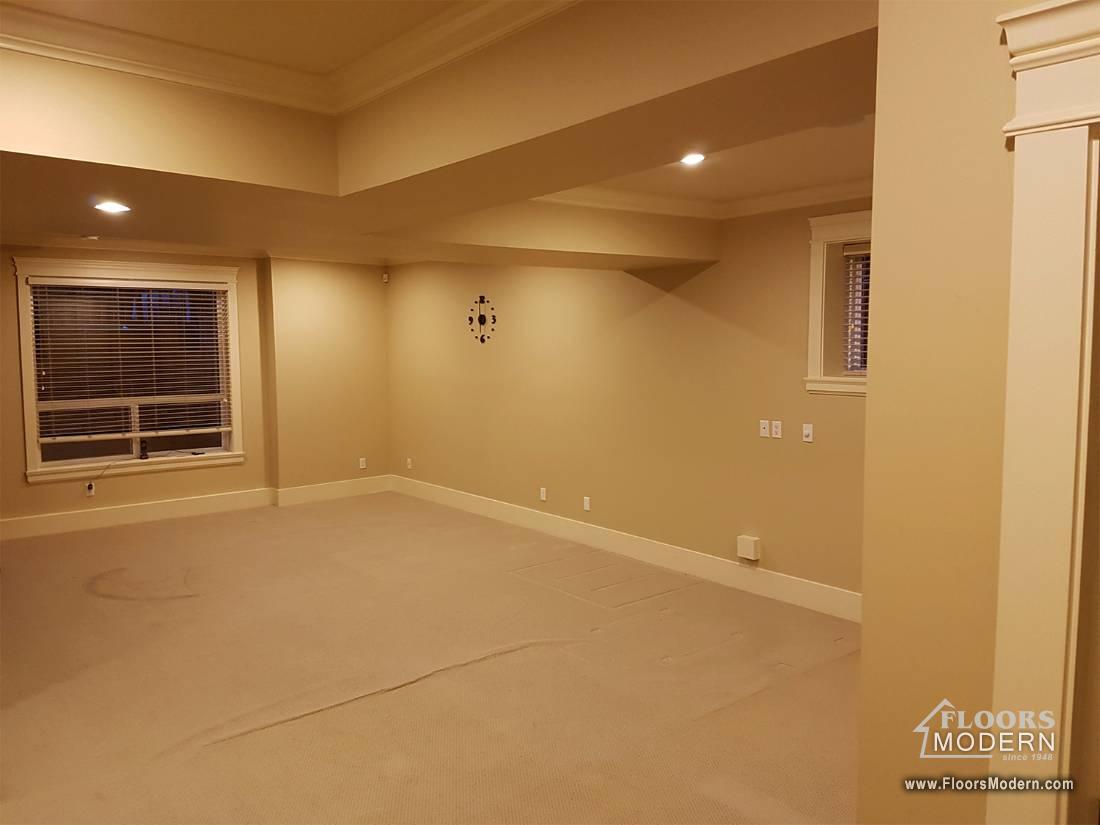
BEFORE
Before we began the project
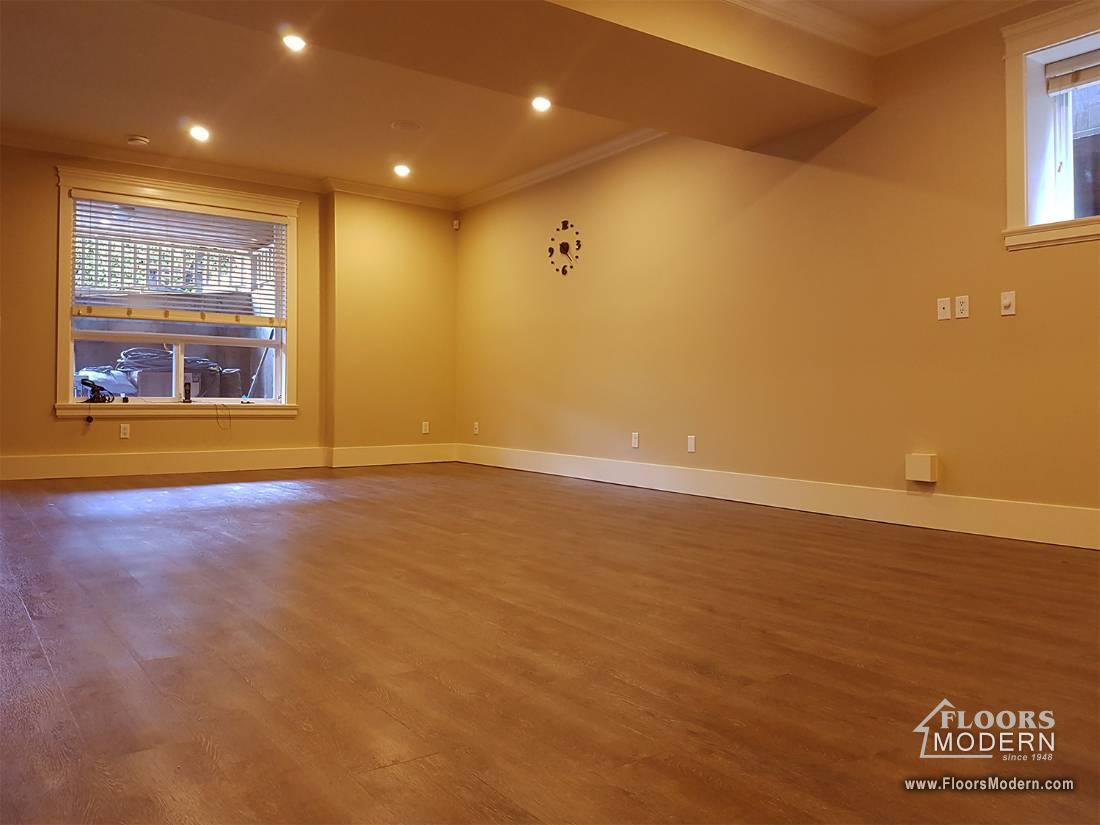
AFTER
Vinyl planks flooring installation project
Surrey, BC
BEFORE
Carpet flooring was replaced with vinyl planks
Surrey, BC
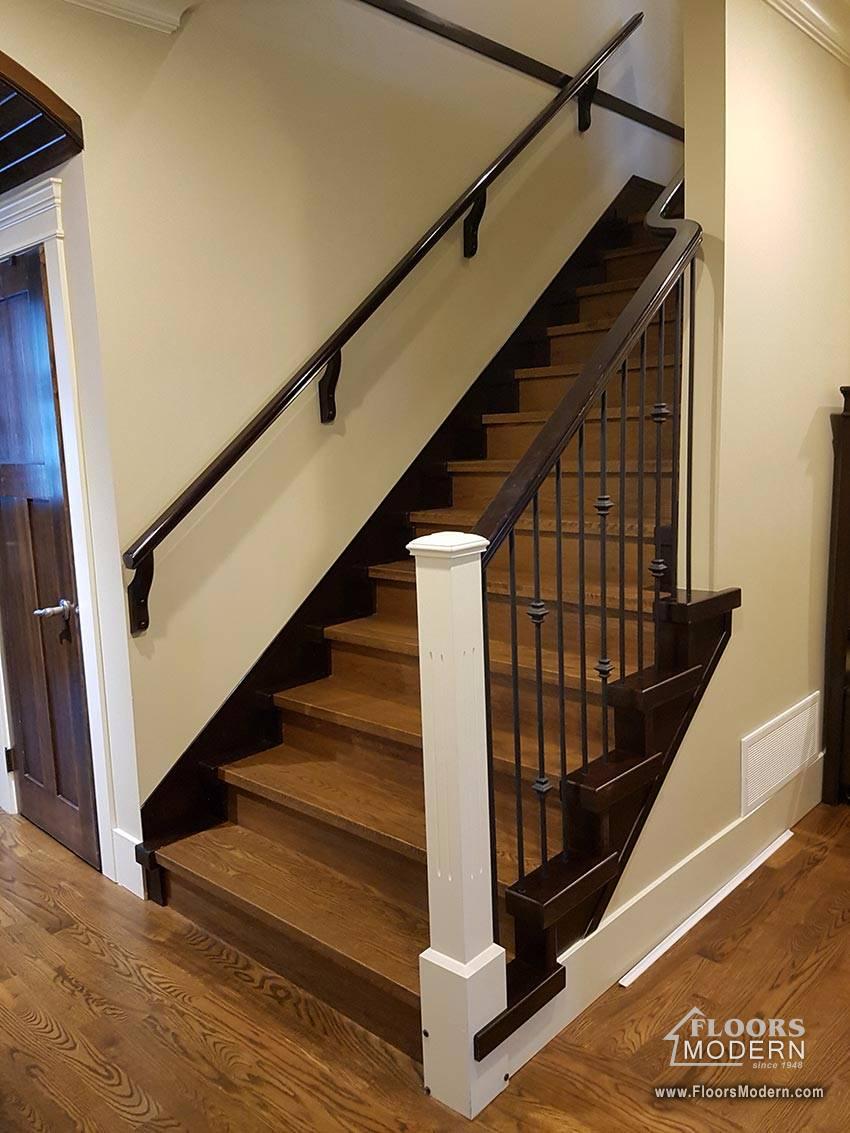
AFTER
Vinyl plank flooring project
Surrey, BC
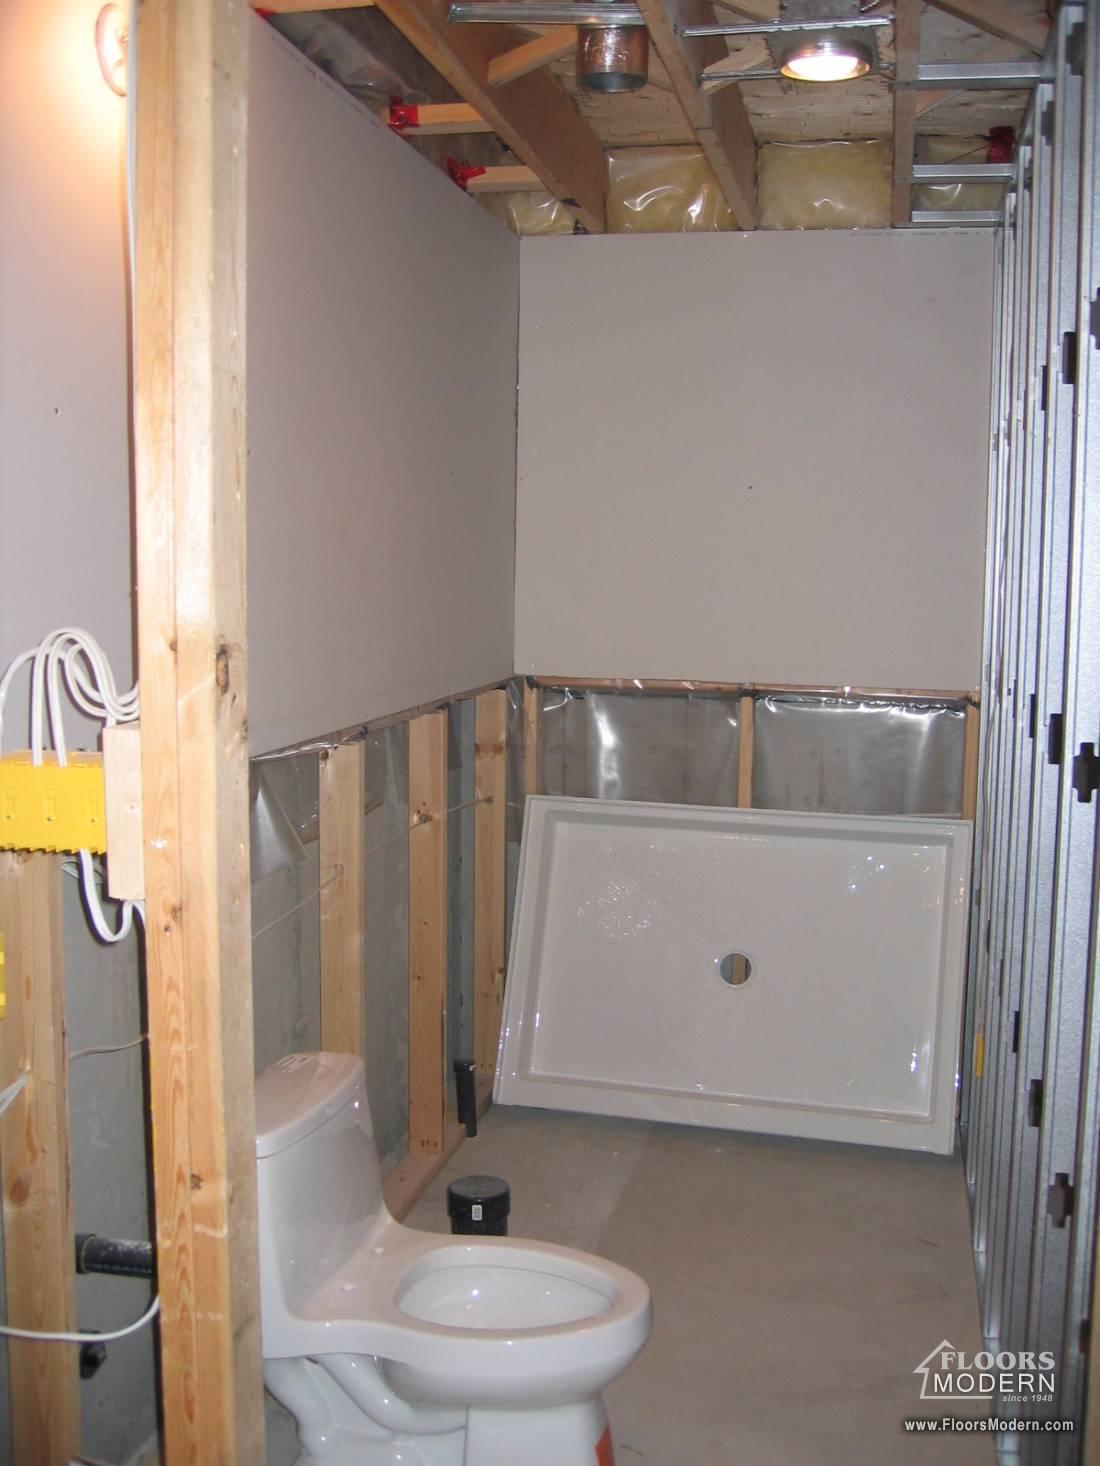
BEFORE
This is what it looked like before we started our work
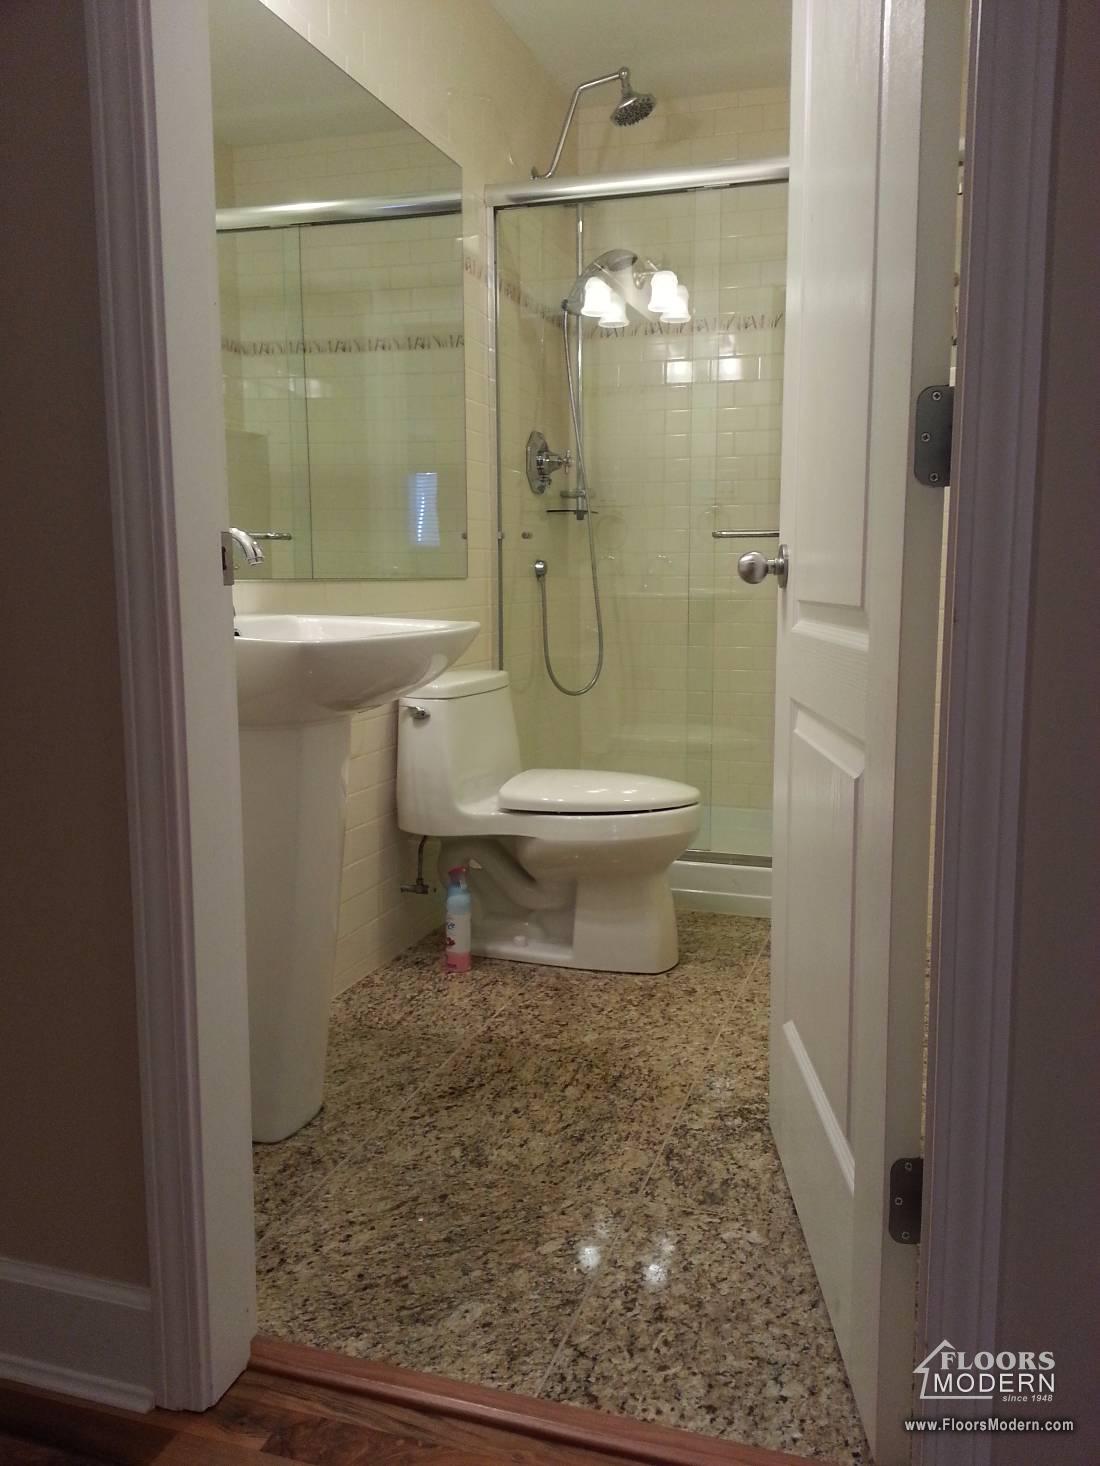
AFTER
Marble flooring and shower stall wall tiling project
BEFORE
Over 2000 sq. ft. commercial, high-traffic area flooring project
AFTER
Commercial property, laminate flooring project
back
|
6
to
10
of
13
1
2
3
Welcome
Thank you for visiting our site.
Floors Modern
Close